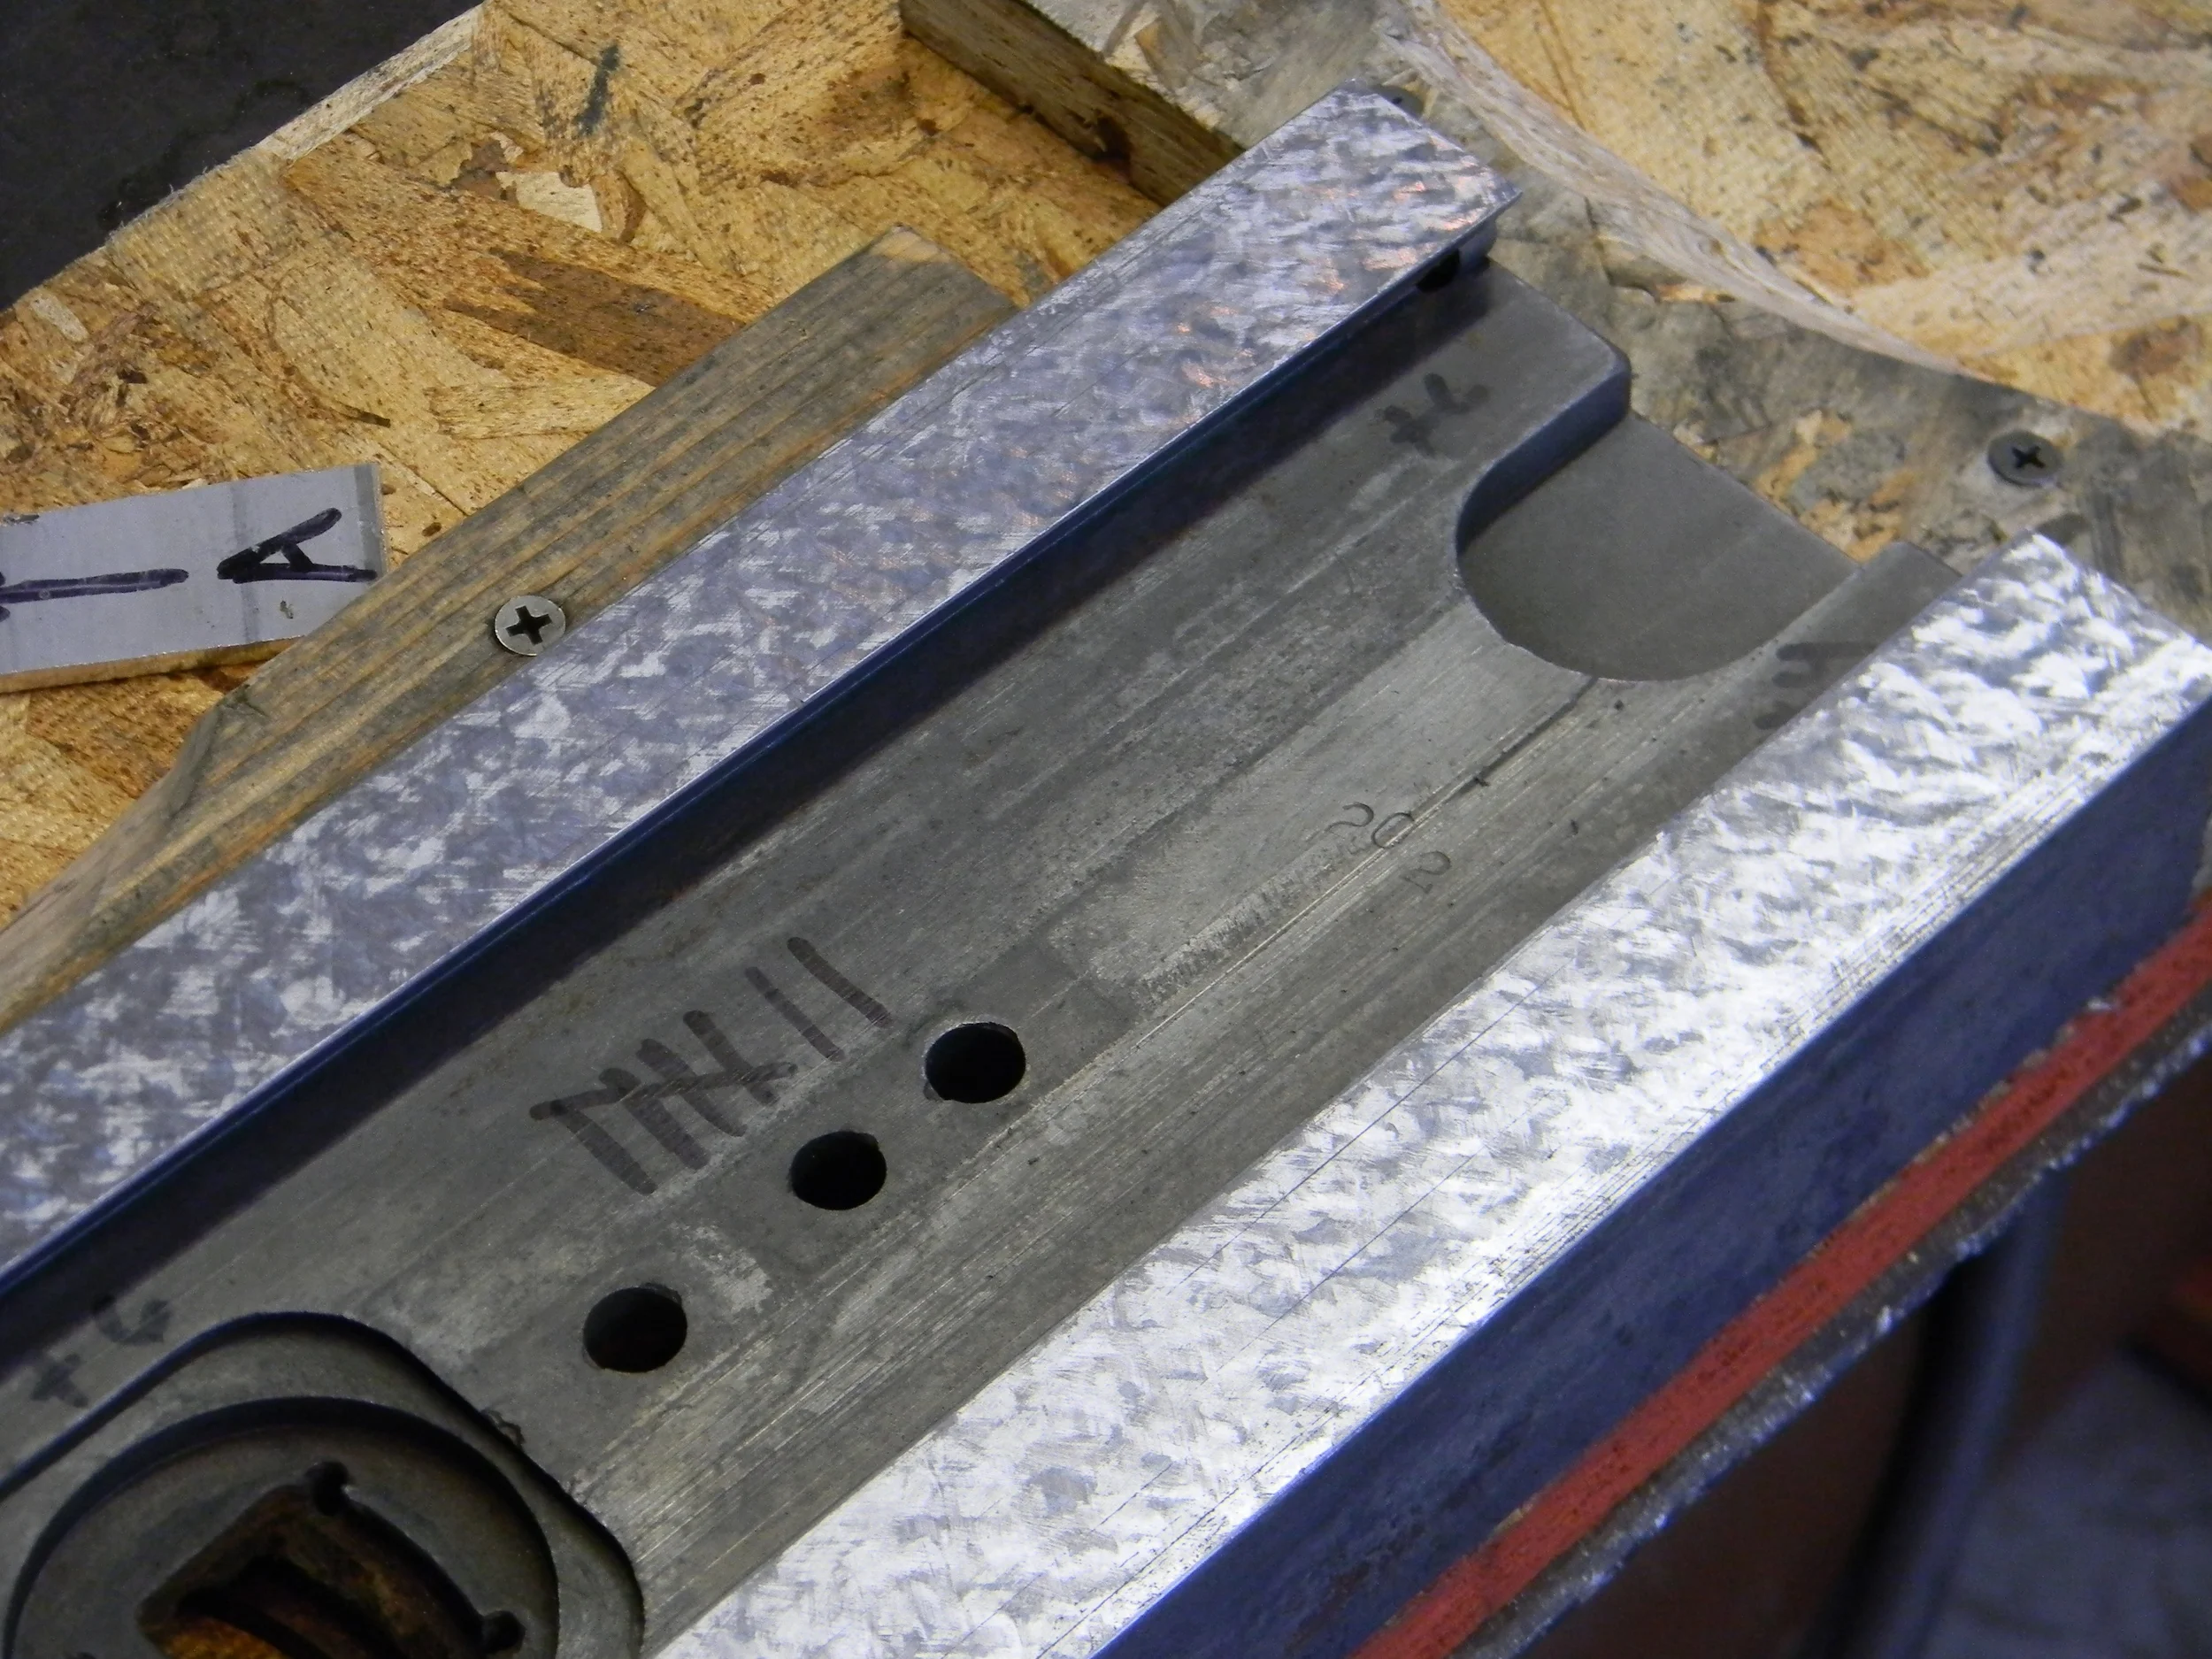
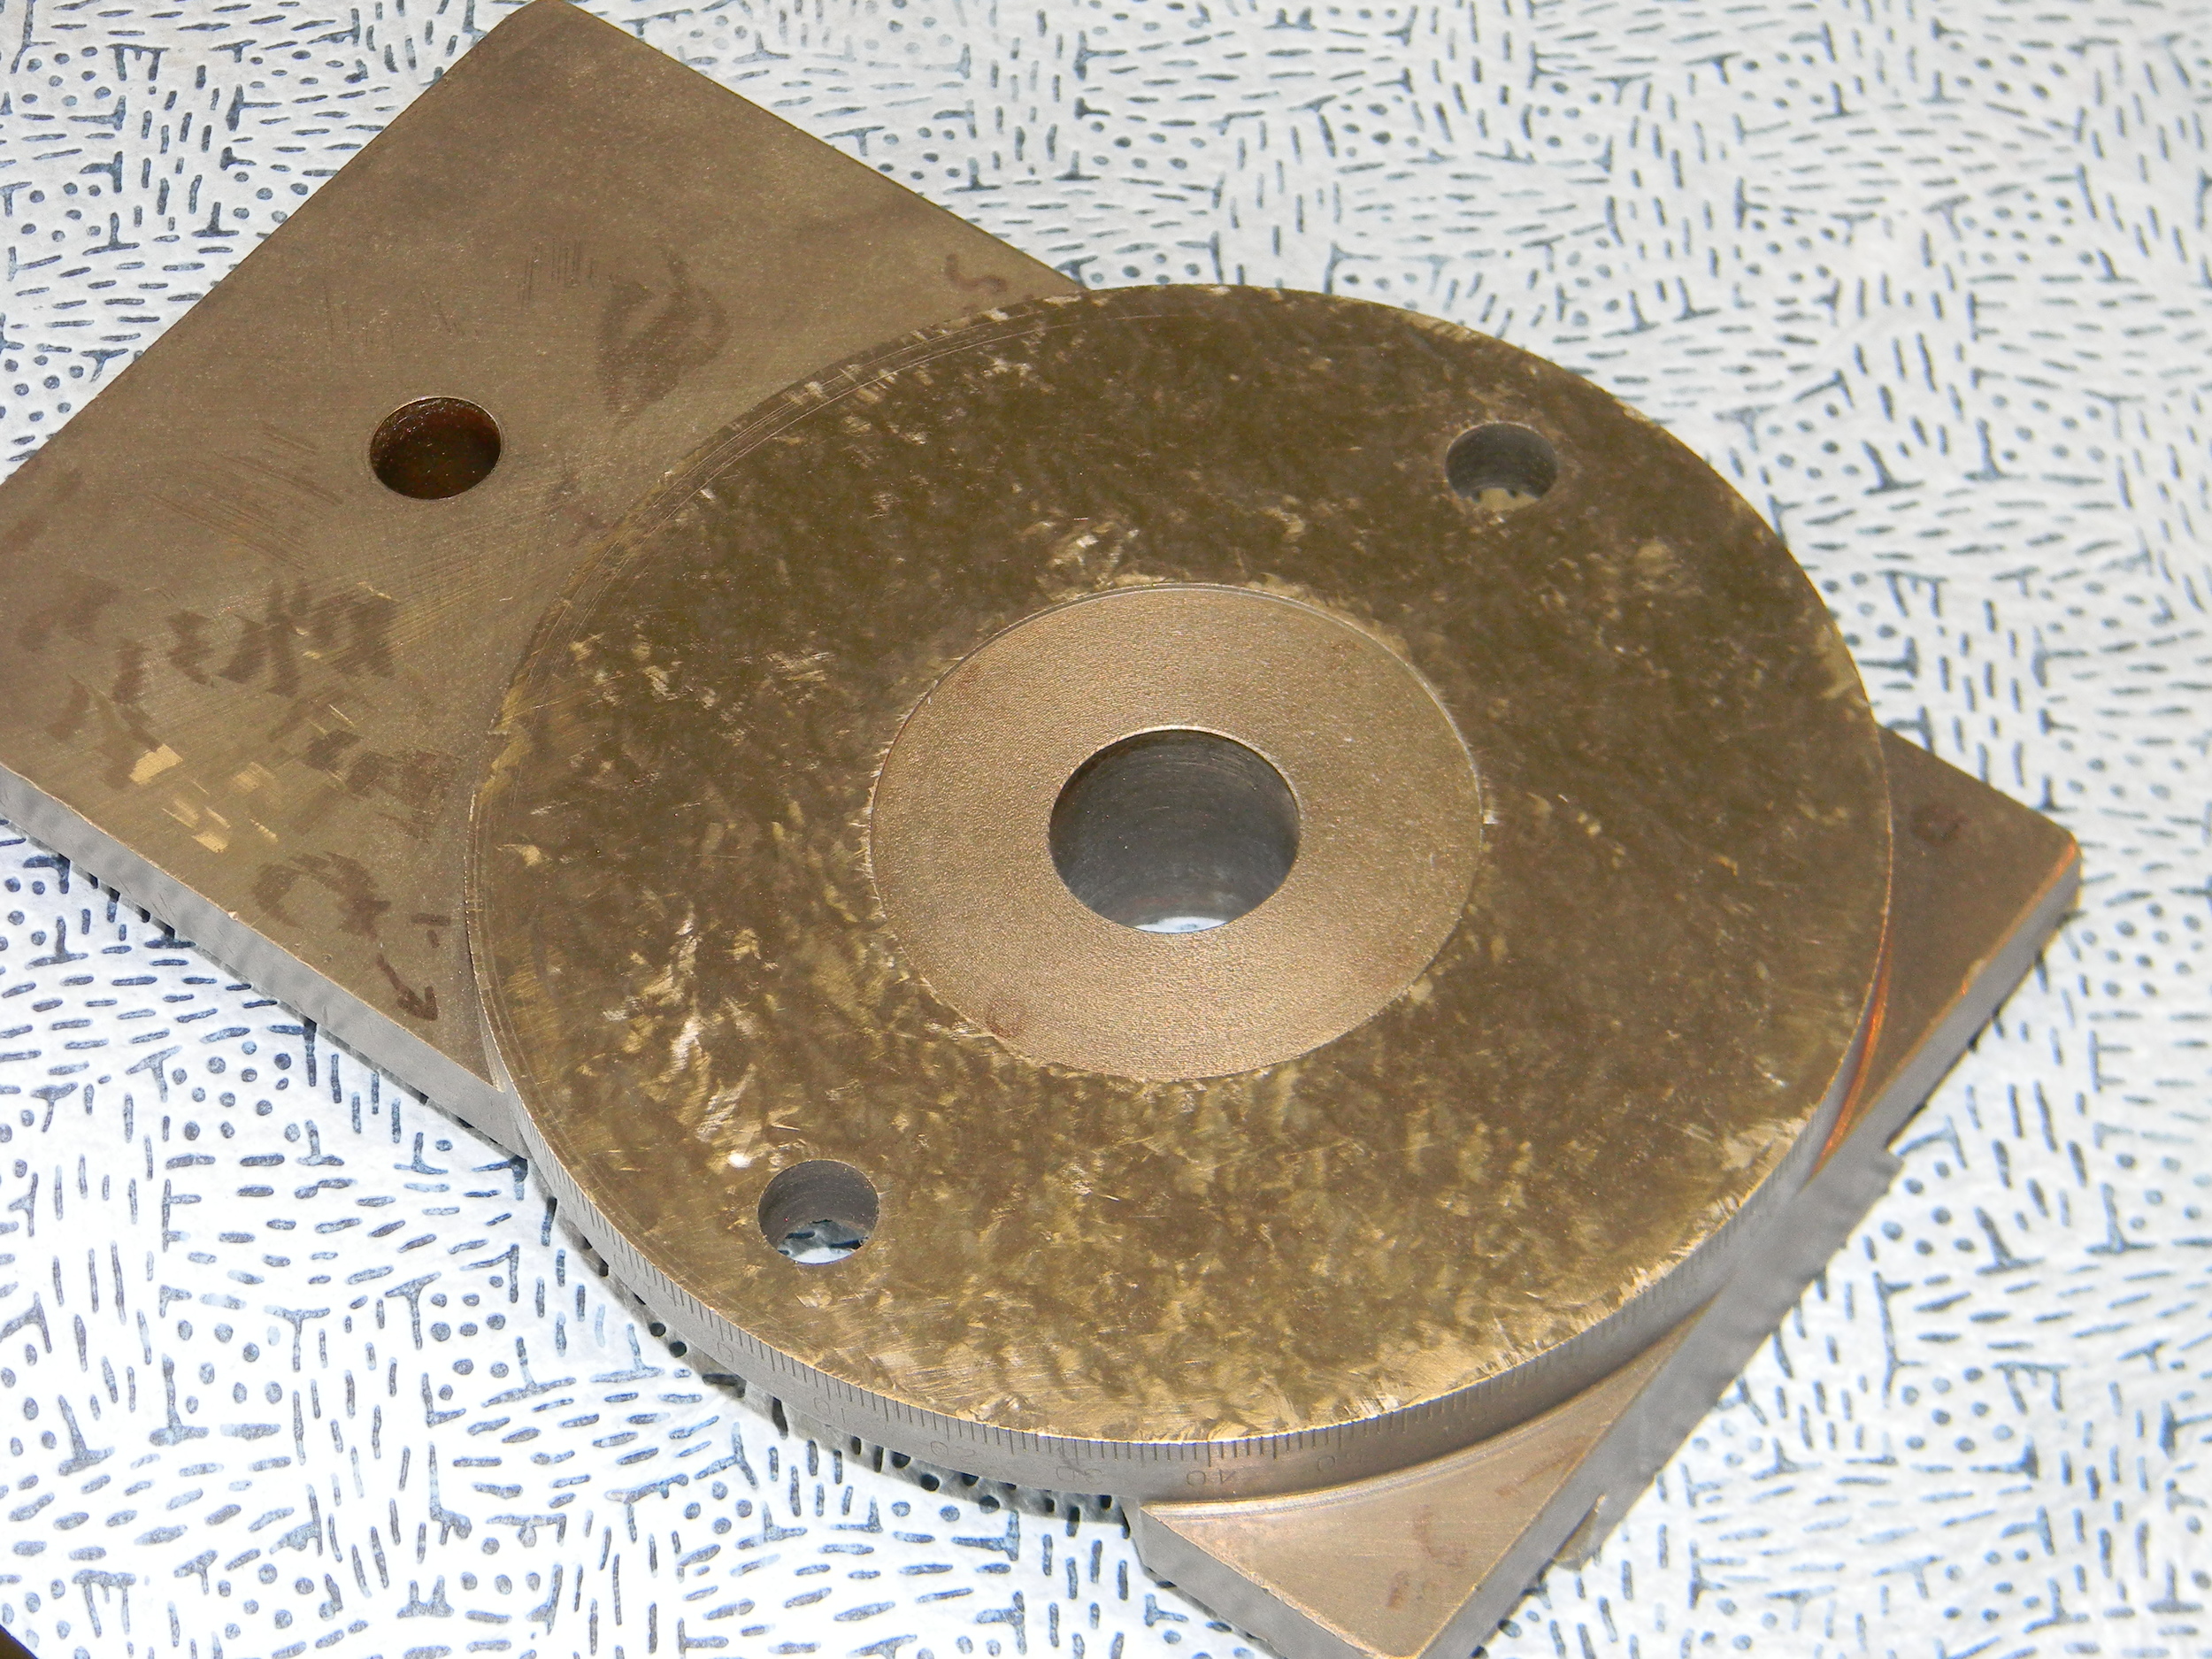
Pictures of the measurement process for aligning the headstock/spindle to the ways and machine carriage to the spindle axis. We have been doing a detailed documentation of the rebuild of the lathe on the Practical Machinist website. Here is the link for the headstock and here is one for the carriage.
The headstock alignment in the vertical plane was measured with a spindle mirror and autocollimator as well as sanity checking via the test bar in the spindle. Measurement in the horizontal plane was done using the test bar only.
The parallel bar in the pictures below is used as the reference for perpendicular to the spindle axis. It is shimmed and tweaked until the indicator reading in pictures 2 and three are the same. That is, a reading is taken then the bar is flipped 180 degrees and the two reading are compared. Once the two are the same the bar is 90 degrees to the rotational axis to within the measurement error and straightness of the test bar. Once the bar is in alignment the carriage with attached indicator can be slid down the lenght of the test bar. Adjustments are made on the carriage alignment until there is no change in the indicator reading through the length of cross slide travel.
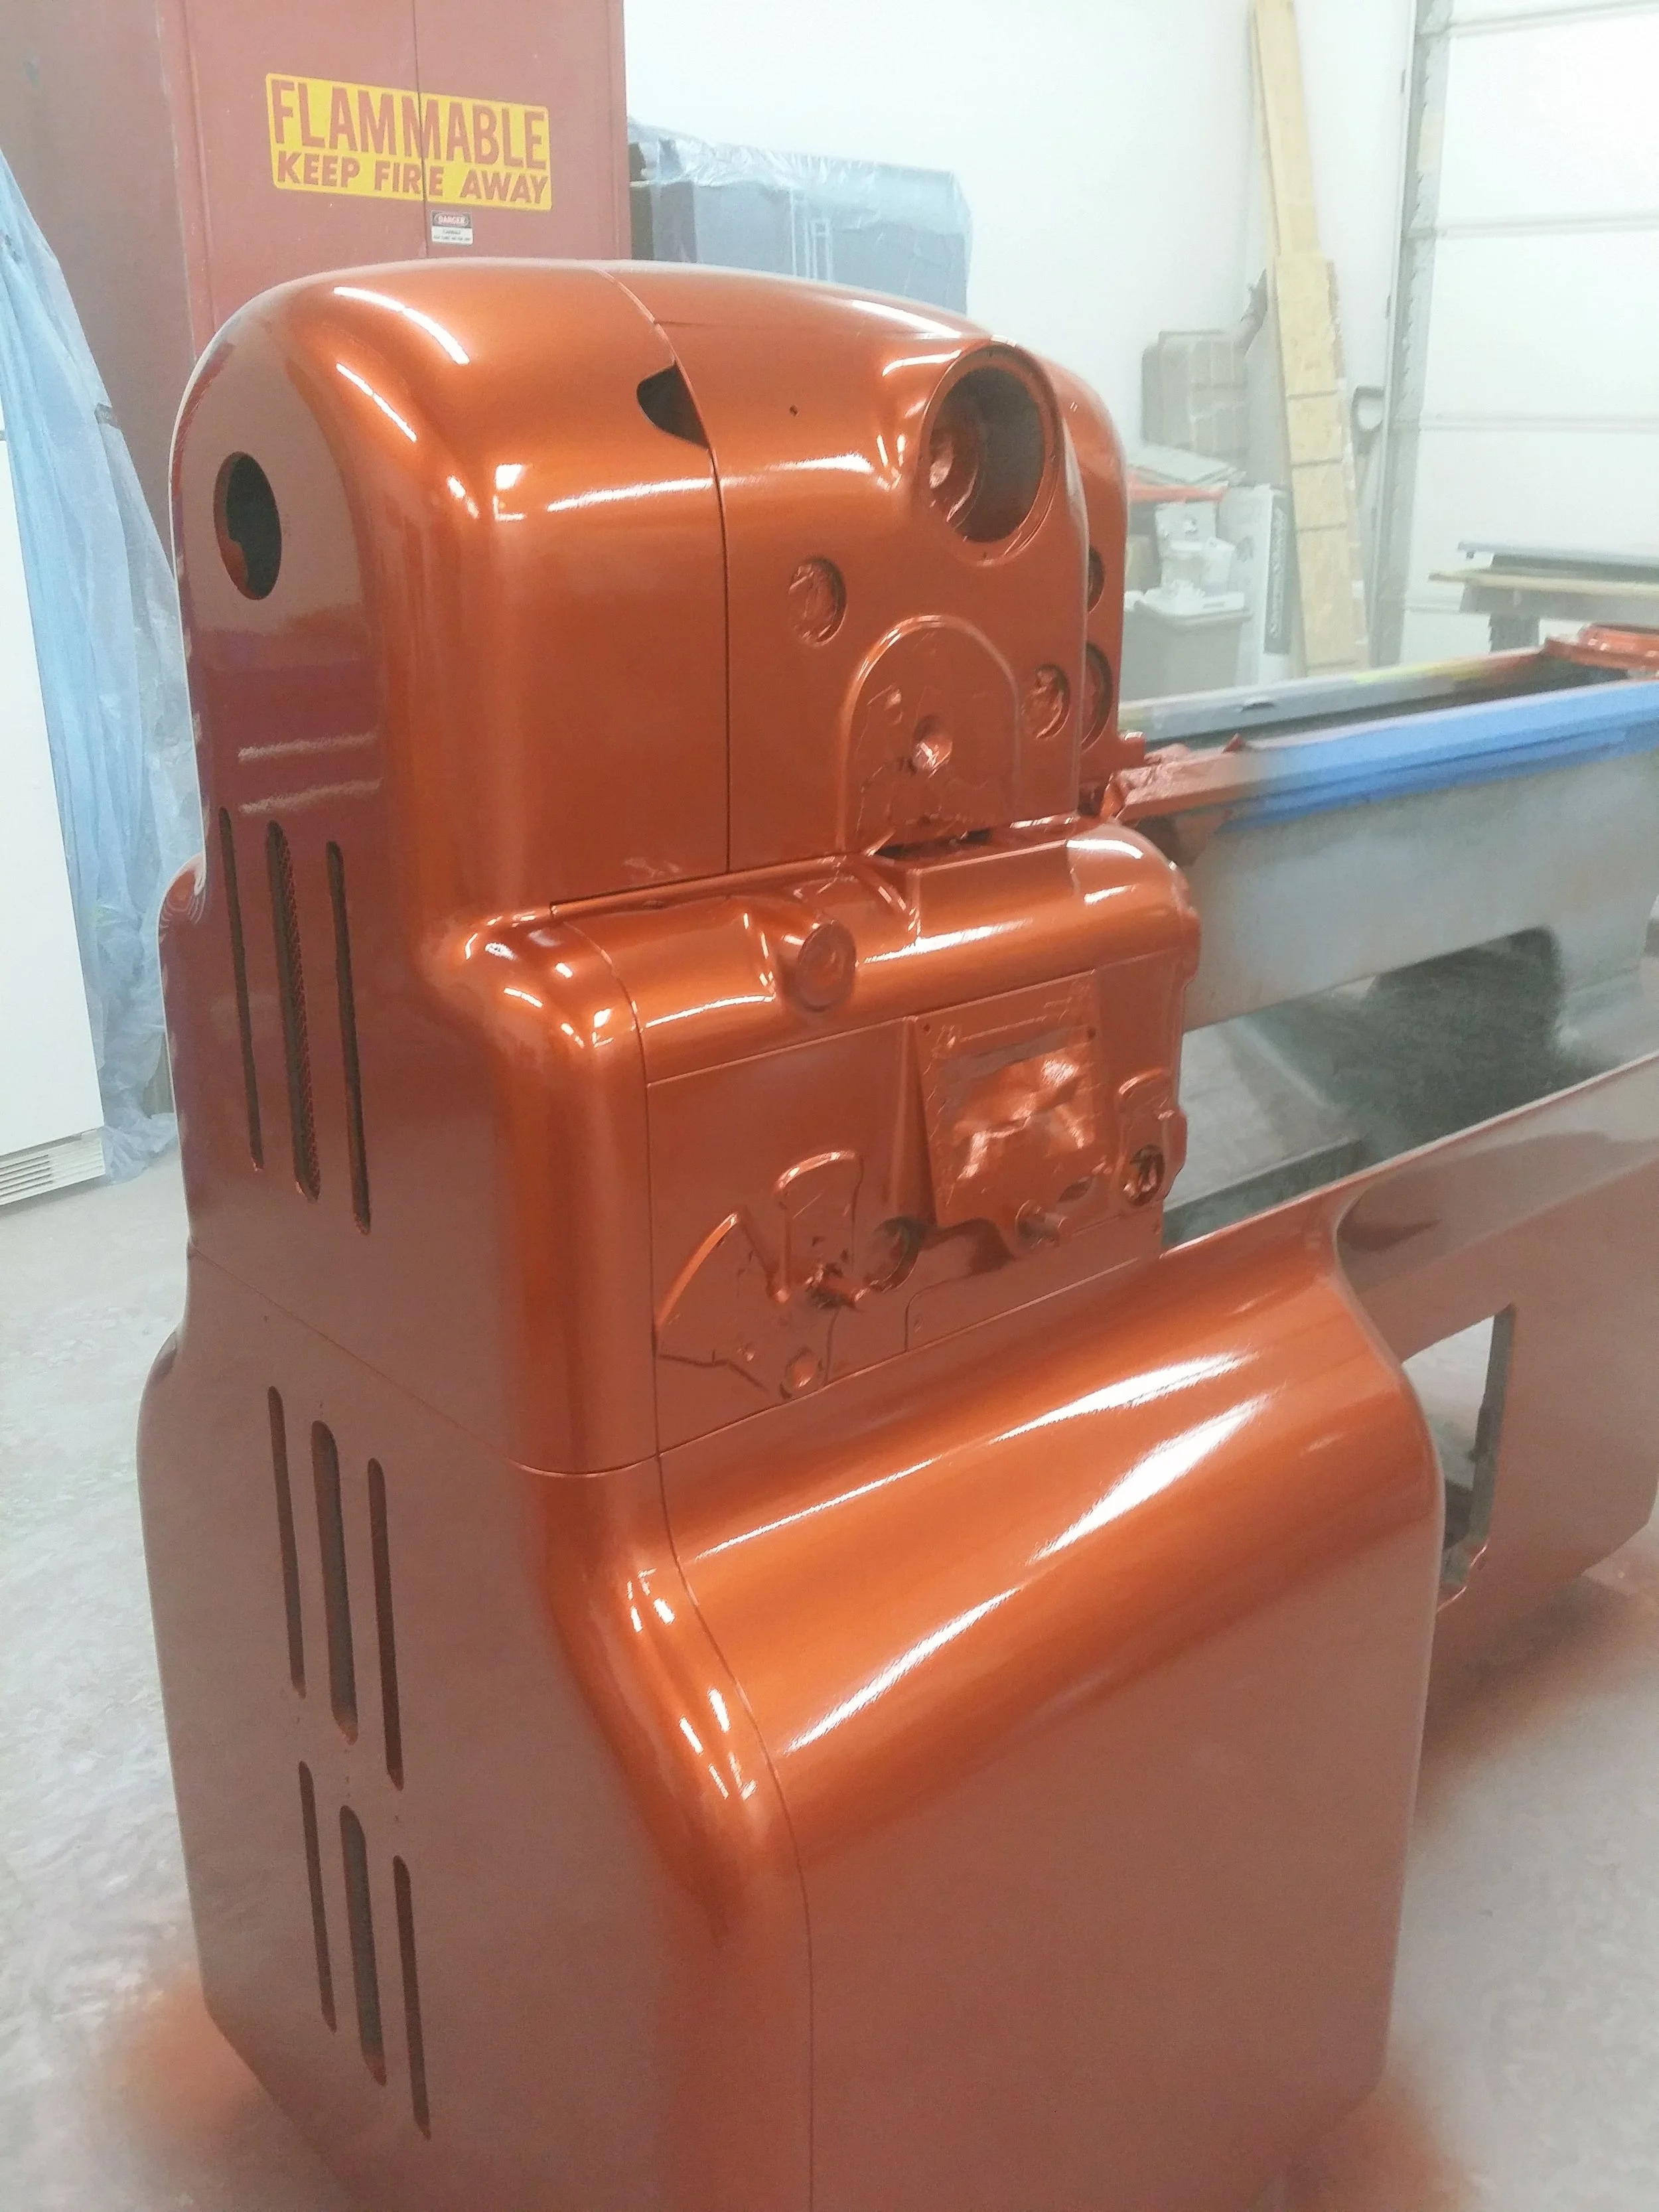
A few shots of the Monarch lathe getting it's new paint job. The orange is Dodge Challenger 'Go Mango'!
We got the Deckel FP5 NC machine. I found a few pictures we took during the installation and comissioning. Is a big beast, 10hp 6000rpm spindle, 700mmX600mm500mm envelope and direct glass scale feedback for the servo drive system. Oh, and it has both a horizontal and vertical CAT40 spindles. And a quill on the vertical spindle. I could go on and on. It's a great toolroom machine. We will also press it into some production work now and then.
With luck, this will be my next project. A beautiful condition Deckel FP5NC Universal Milling Machine. Massive! German precision! Not really a project, more of an acquisition, its in good working condition, does not really need any work. Of course I'll have to go overboard and clean and polish till it shines. just need to get it into the shop and powered up. First decent large capacity machine I've found within a reasonable distance of the shop. Most of the good stuff is usually 3 states away!
Artist Conception
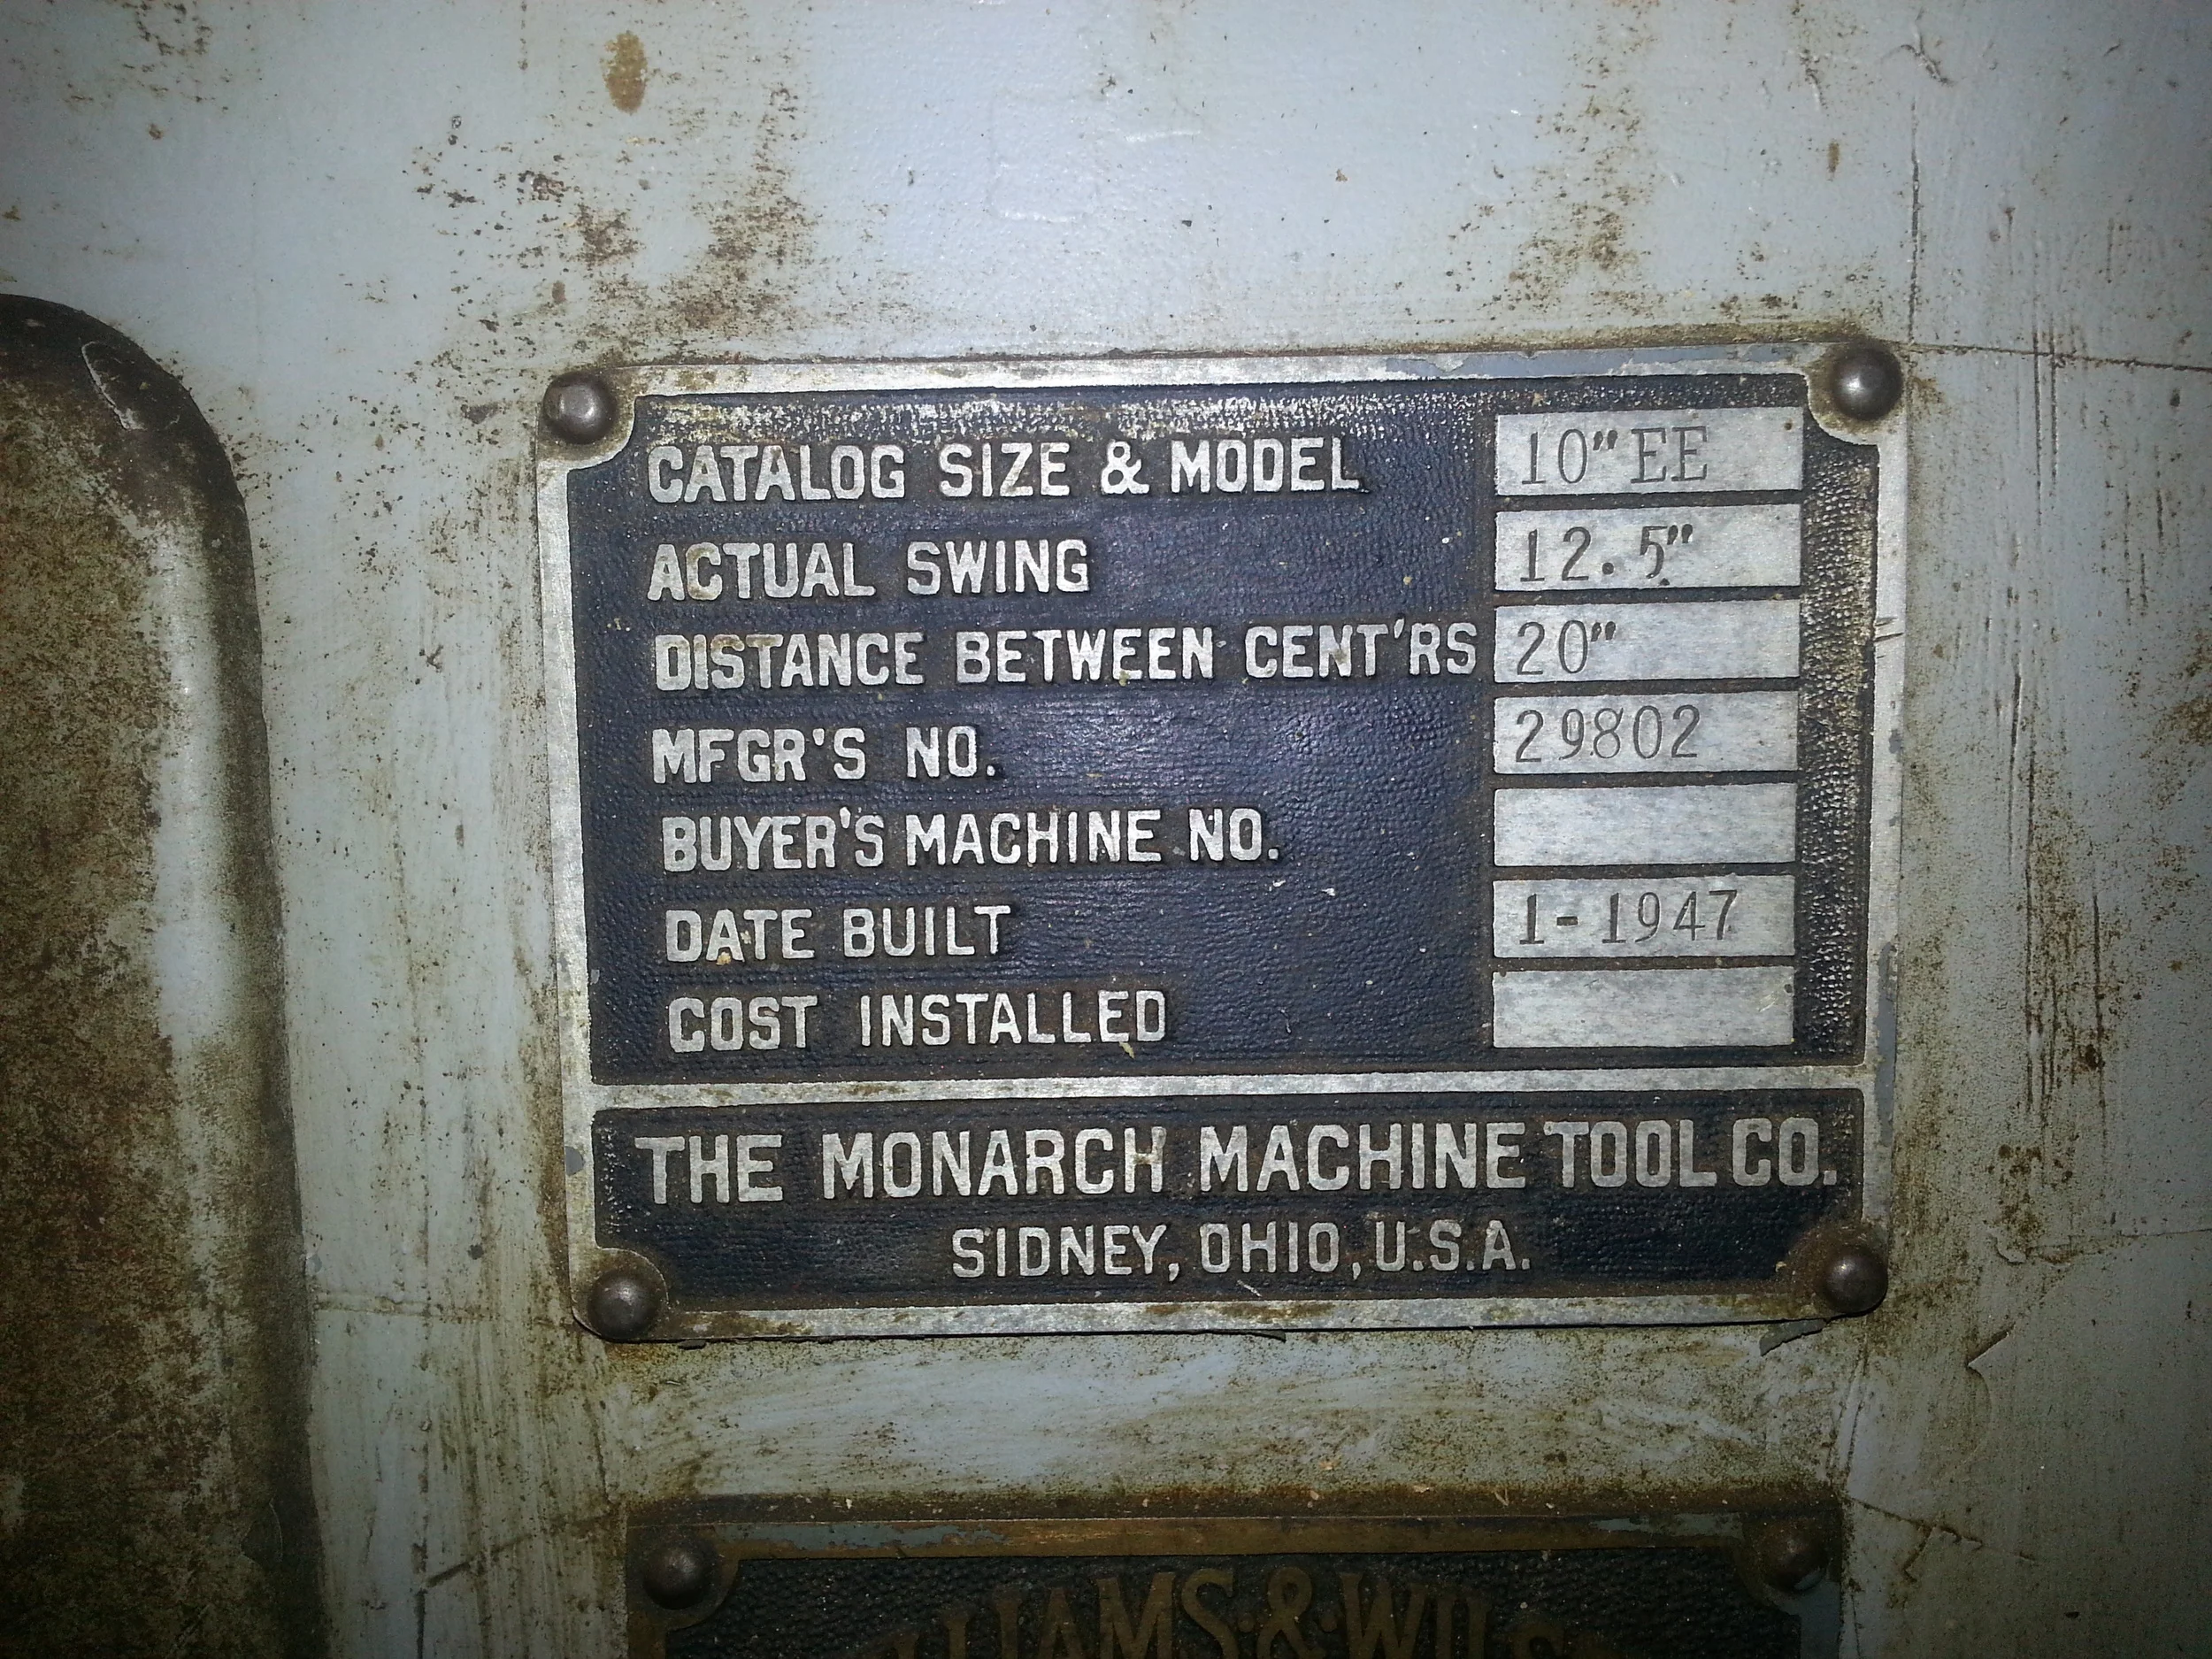
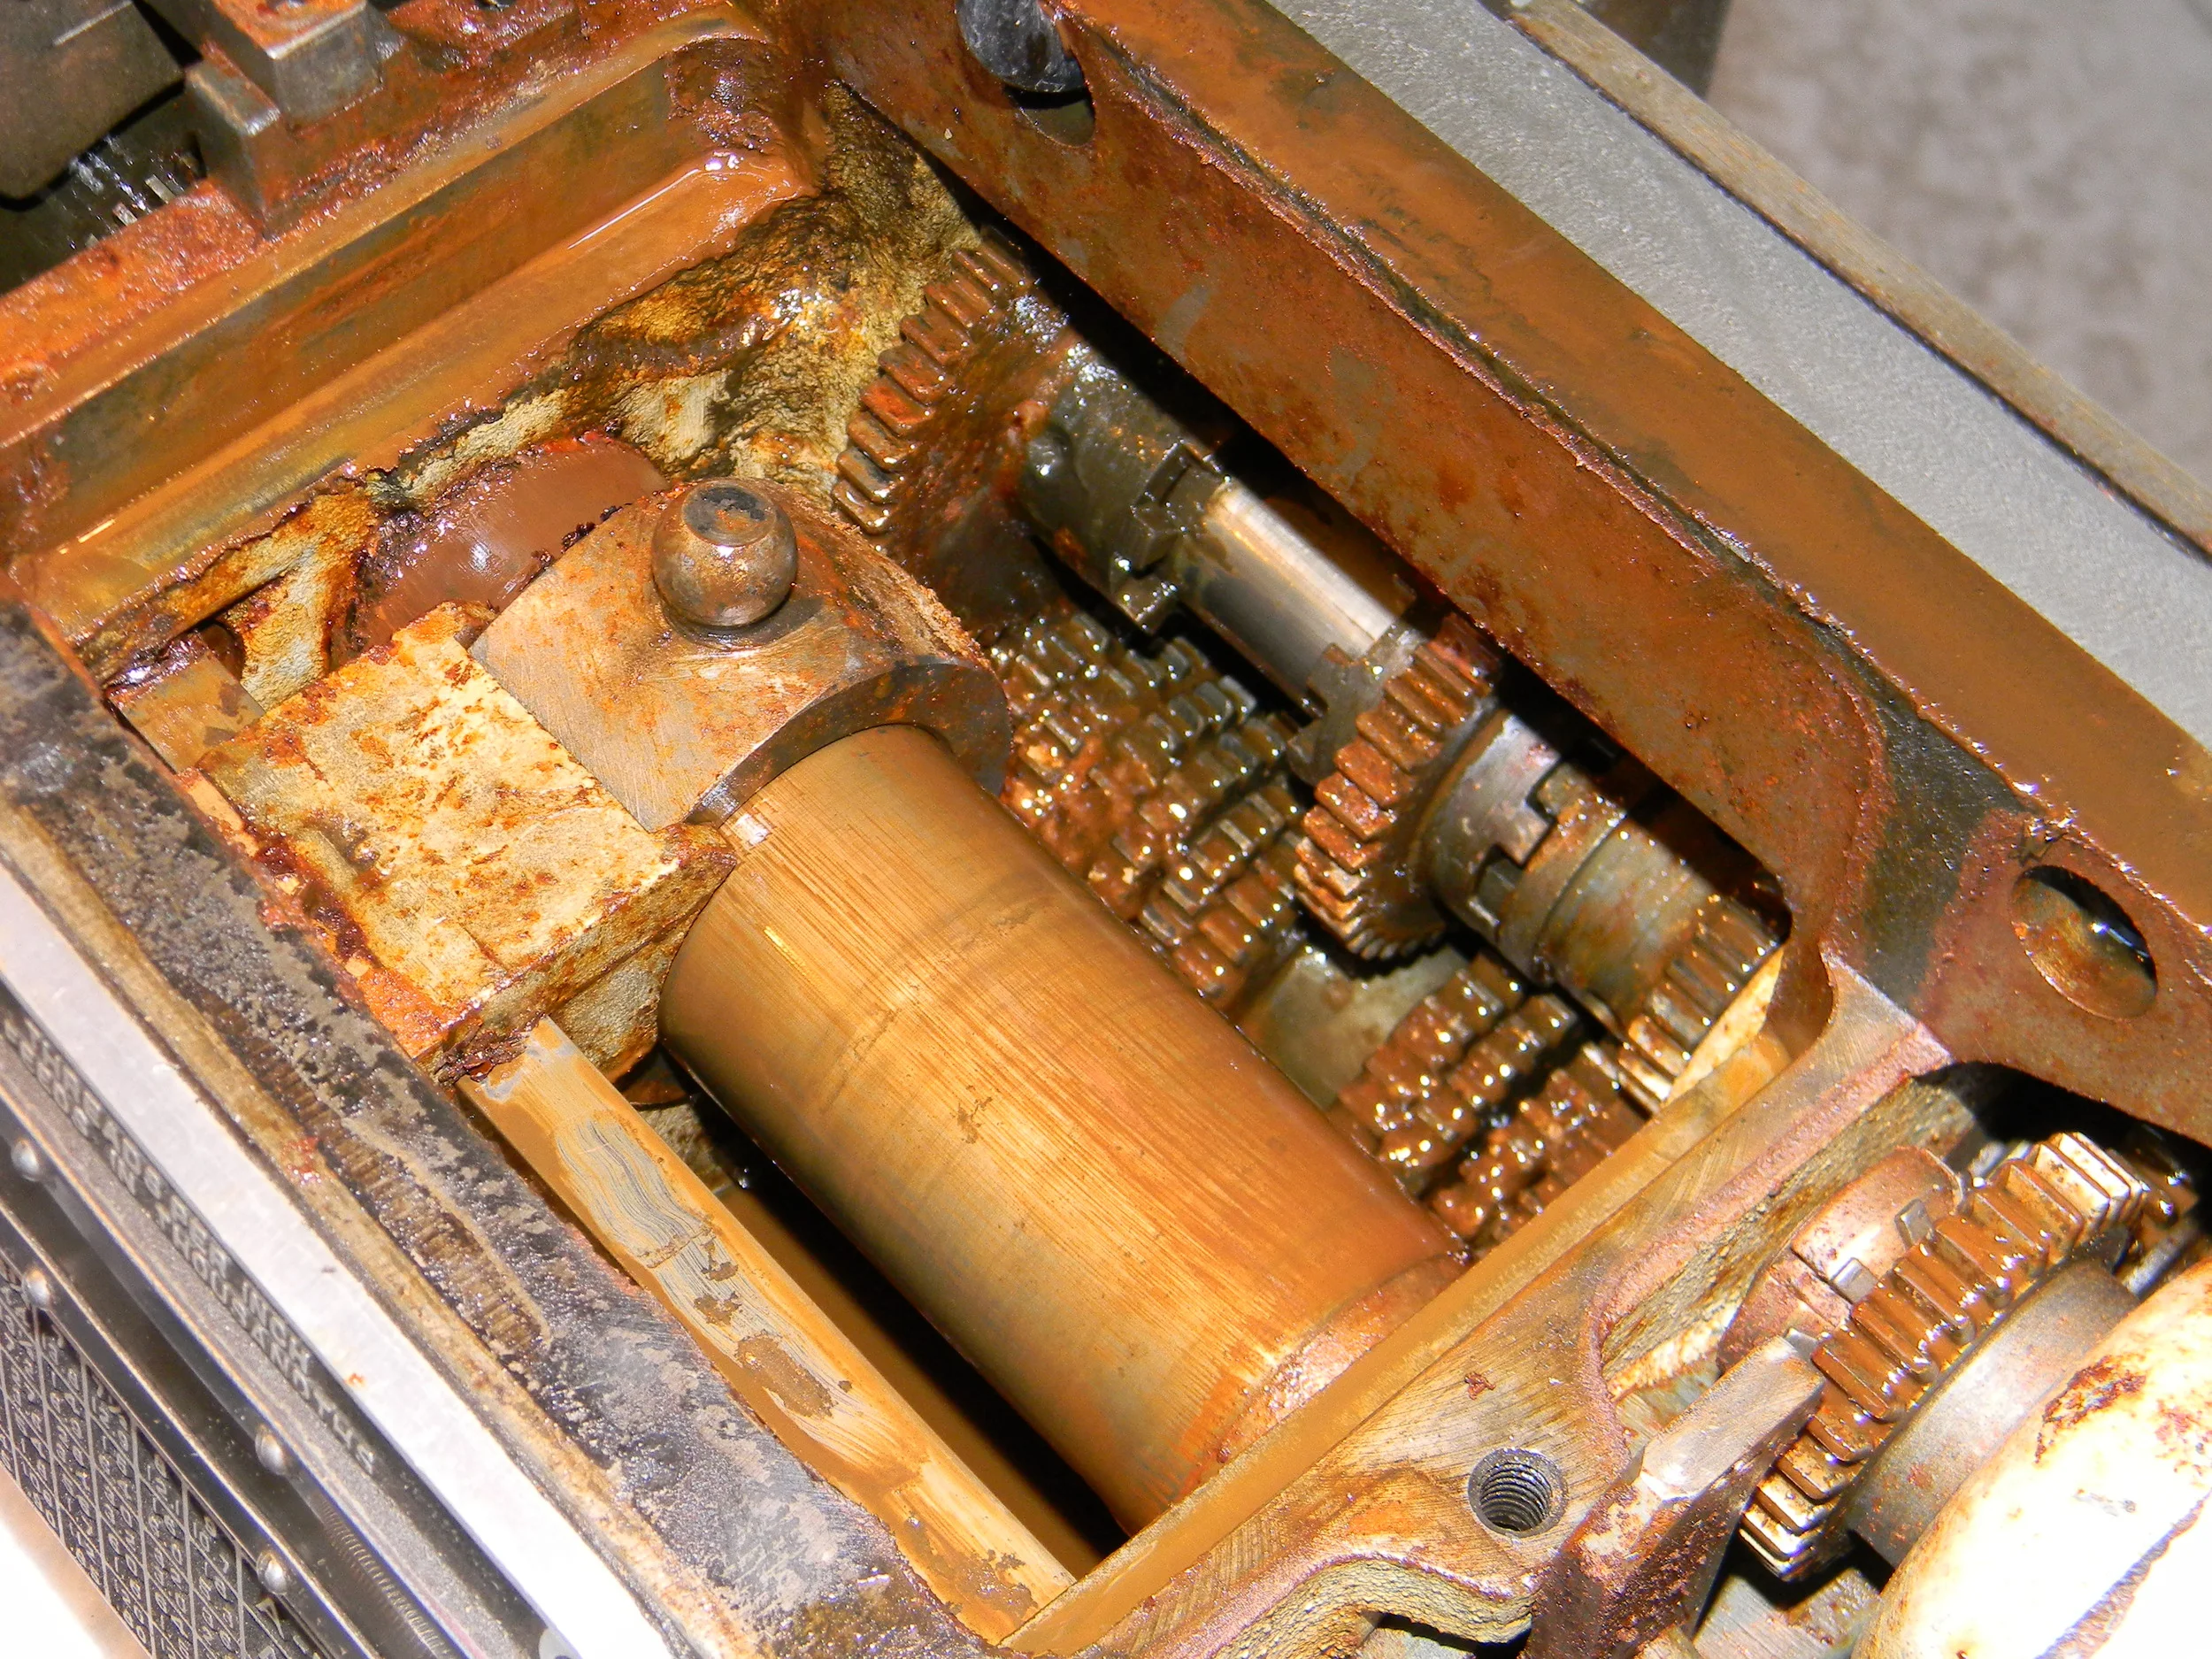
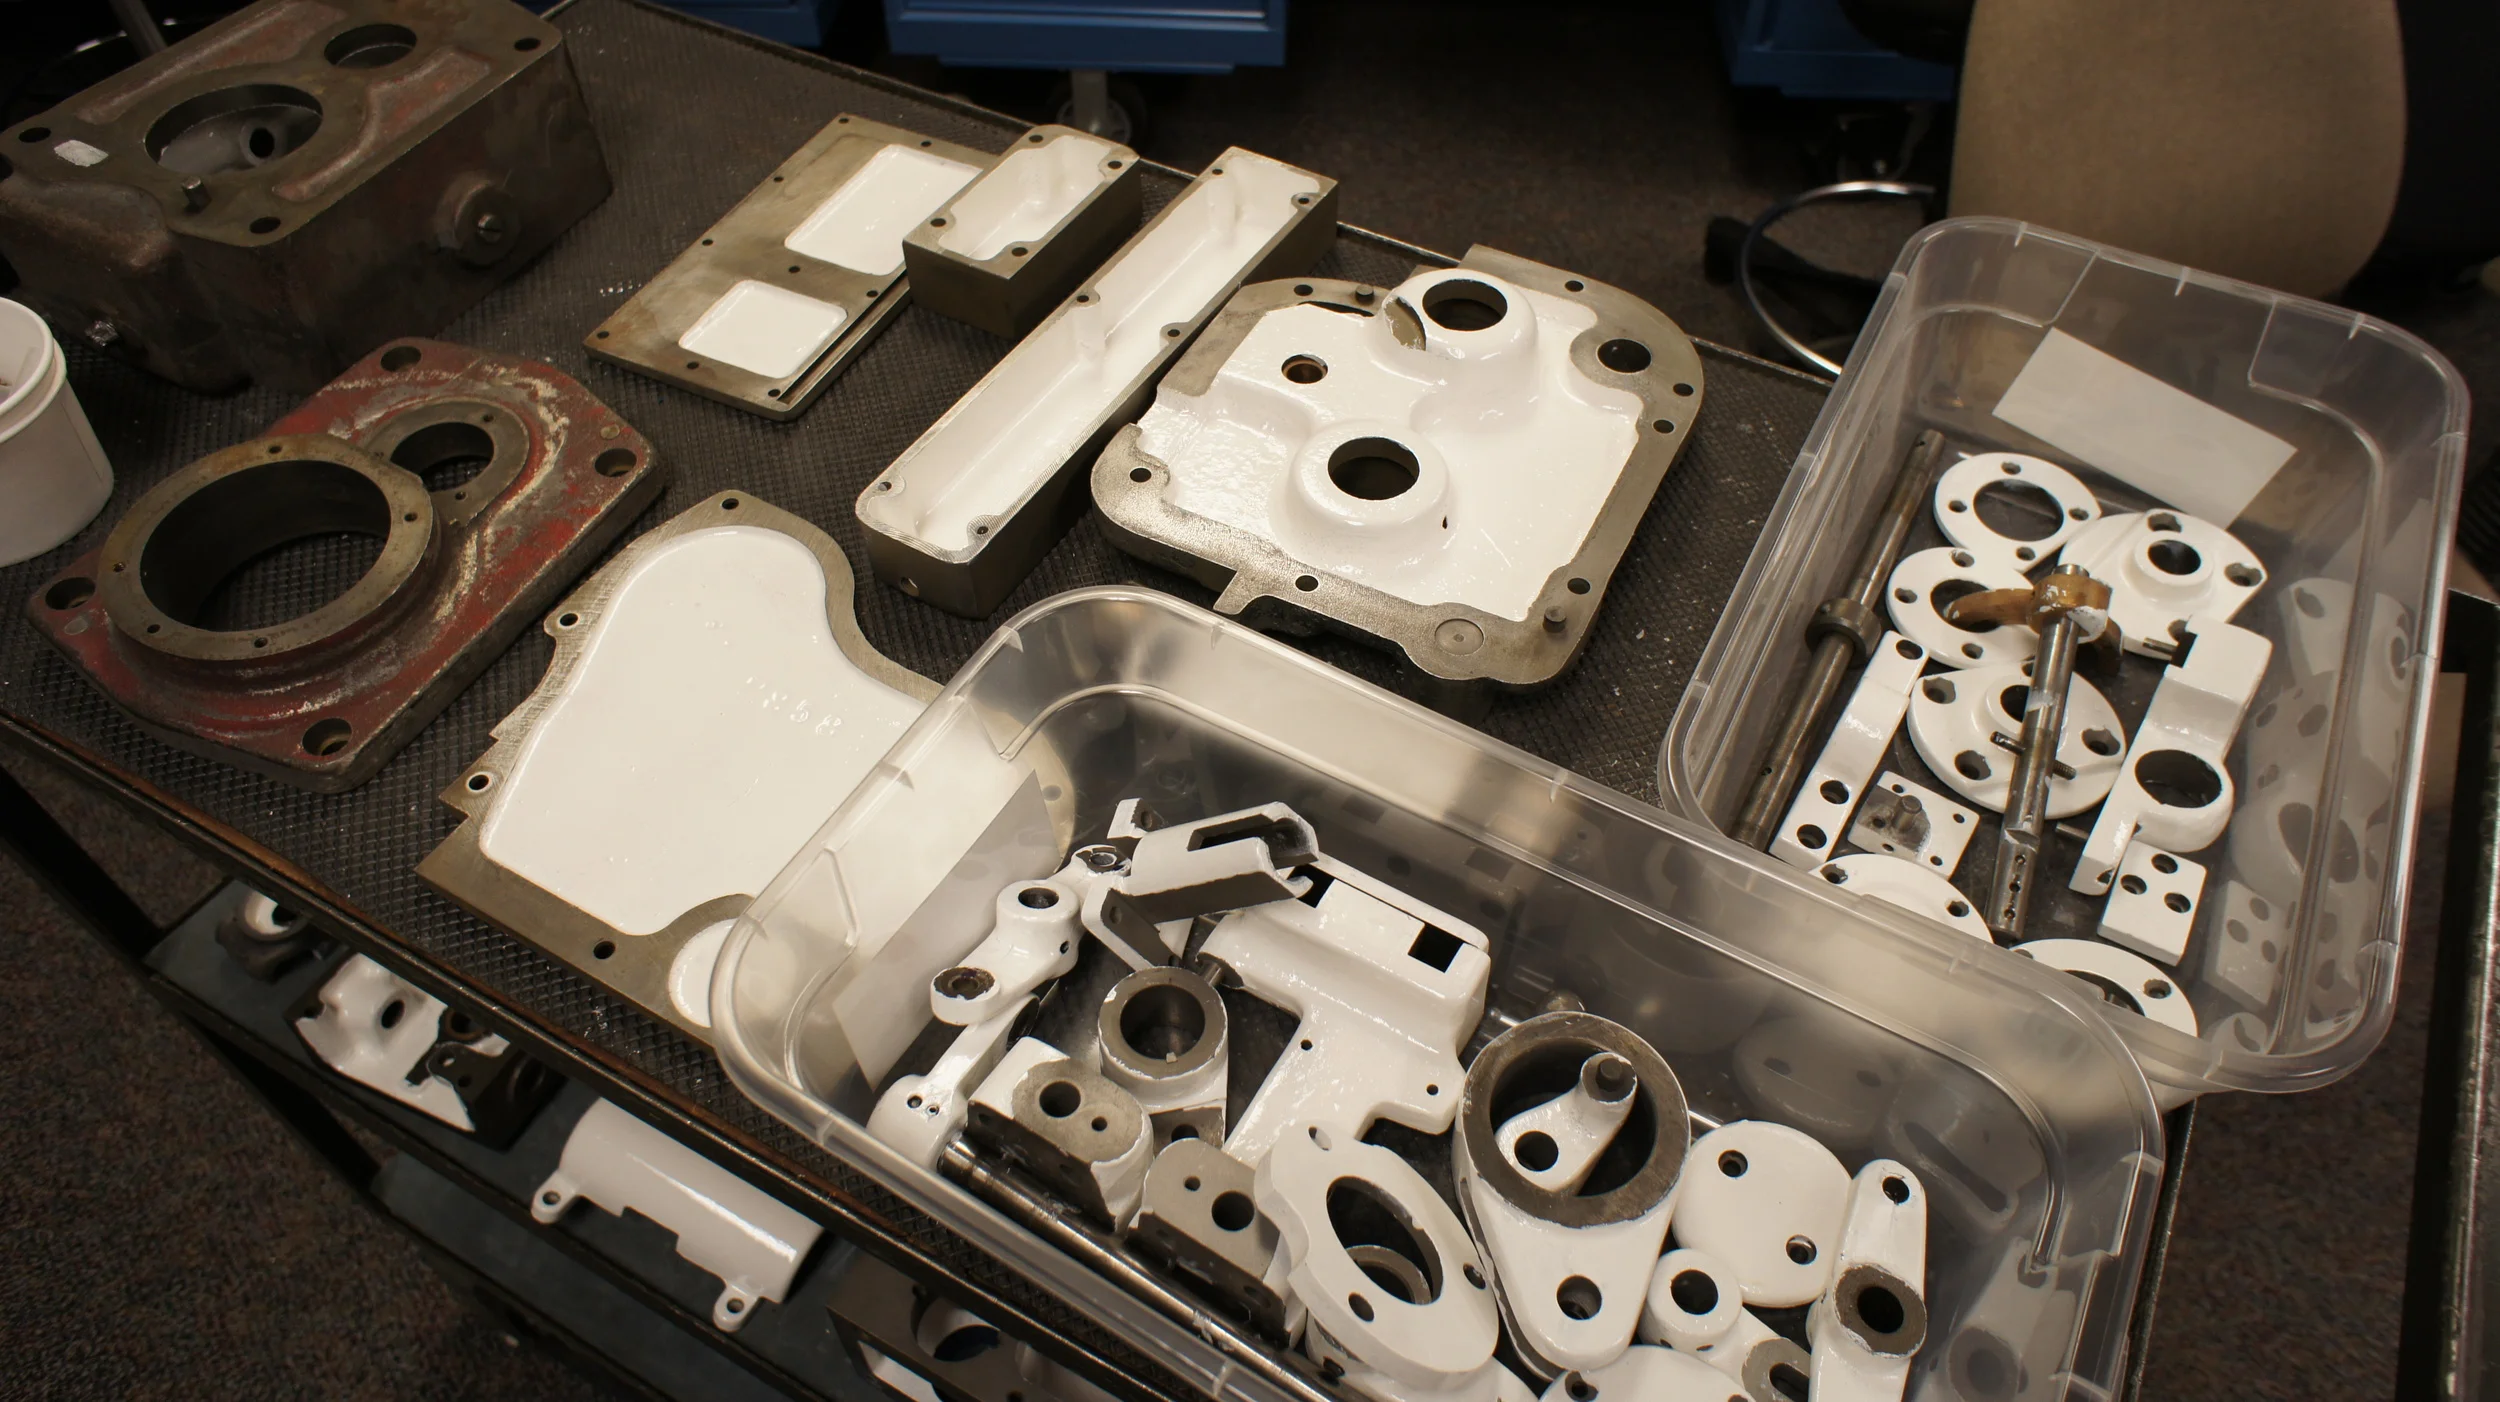
1947 Monarch 10EE Toolroom Lathe. Bought this lathe as a refurbishment project. One of the finest toolroom lathes made. Monarch still produces these beautiful machines using the same castings as the original, they got the design right the first time. I am documenting the entire restoration on the Practical Machinist website: '47EE Rebuild
Scraping and alignment. The scraping process can produce flat surfaces accurate to better that a 1/10 of a thousandth of an inch. A non drying ink is spread very thinly onto a super flat reference surface and the part to be scraped is rubbed on that flat surface. The high spots pick up the ink and are then scraped off. This process is repeated as often as is necessary to produce the required quality of surface. The small blocks were precision scraped to fit the 'V' ways of the Monarch 10EE lathe and will be used to accurately determine the amount of wear using an autocollimator.


